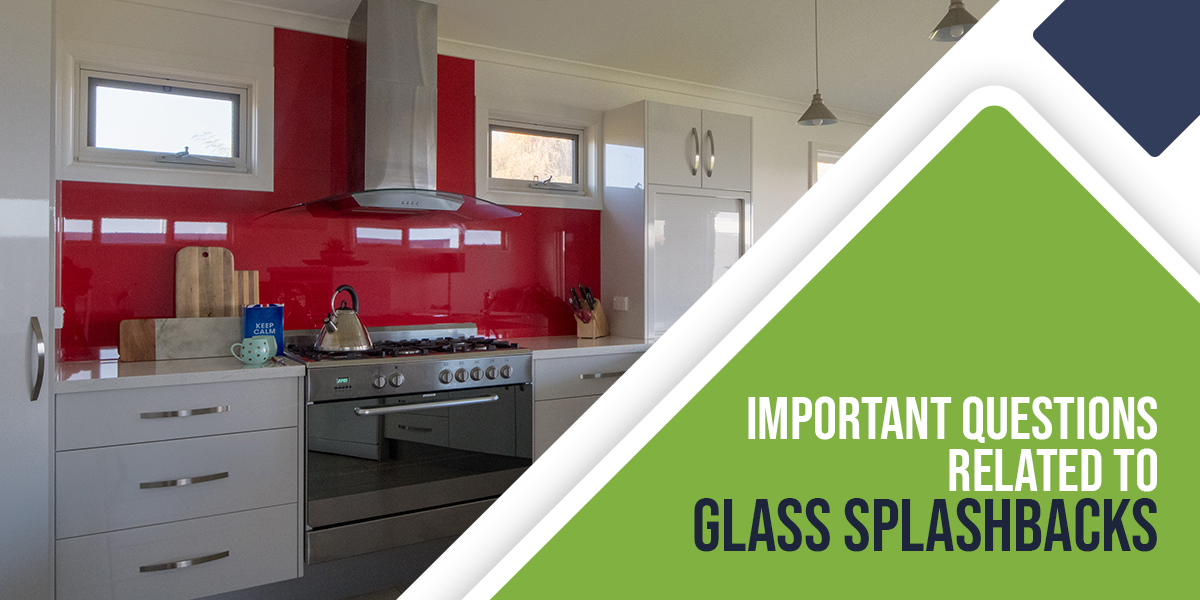
Do you know glass splashbacks have been designed to protect the kitchen walls from heat, moisture and food debris? Well, the tiny molecules of water that would seep into the wall may be the reason for structural damage in due course. When it is about heat and moisture, choosing glass splashbacks are great in the bathrooms due to protective nature. Glass is a fantastic material for splashbacks and the protection provided by it can save you huge money in the long run. With a wide range of designs and colours available, you will surely be able to find the one that matches with your kitchen.
Go through this blogpost to explore splashbacks in details and know how the benefits of kitchen splashbacks installation can be useful for your home.
Glass splashbacks are made of tempered glass or toughened glass. This kind of glass is heat-treated for better strength and absorb bit more heat before they break. Toughened glass is nearly five times stronger like normal glass and it can shatter into blunt pieces as the exterior is slightly different to the core. This makes it a safer and stylish choice for your cooking space.
Though it is likely to cut into the tempered glass, we will not recommend it. When the saw passes through some point, the tension between exterior and interior of the glass will resolve right away, thus causing it to shatter. In other words, you should not cut your splashback as you will not damage it. You should select tempered glass splashback made-to-measure as this reduces sizing issues and you will get the right size for your cooking space.
Glass splashbacks will work well with gas hobs and there should be sufficient gap between your hot pans and pots and glass surface. The repeated cycles of heat and cold will cause glass to crack and so, you should keep wide distance between the two.
A gas hob needs lots of space on either side and if you want to install one in a chimney breast, 300mm from each wall is the least at the time of installing a glass splashback. Make sure you consider at least 500mm or more than that for getting the best results. You need to be sure there is little space in the front so that the passers-by are not at risk of knocking them. In the case you cannot adjust your hob without decent gap around the sides, front and back, it is already time to consider small hob.
Before you decide to install splashback, make sure you measure properly. This means knowing exactly where splashback is going to be by recording where cooker hoods, cupboards, switches and sockets will be fitted. You need to leave some area for marginal error as changing the glass size after it has been tempered will be almost impossible.
You can fit splashback in either of these ways.
When you decide to secure splashback by using screw fixings, ensure the correct holes get drilled before the glass is being tempered. You should be careful not to over-tighten screws as doing so can be risky for glass damage which can crack in future. The screw fittings will be visible and you need to position yours carefully at the time of distinguishing them.
You can use adhesive fixings as there is no need to drill any holes and there are no visible fixings. What you have to do is apply silicone based glue at the rear of splashback and support it against the wall till the adhesive dries. The glue will produce attractive finish which is mostly preferred by homeowners.
What do you think about combing the look of tiled splashback with glass? What if you have already installed a tiled splashback but want to install glass one over the top? Well, there are certain things you will have to consider before fuxing glass splashbacks for kitchen over the tiles. Firstly, this can create a splashback that is twice the thickness, slightly restrict the space available and may mean your splashback stick out in places.
This will be noticeable around the sockets which should be re-fitted. Secondly, you need to ensure the tiled splashback is properly fixed to the wall and the existing glue will bear the weight of two splashbacks in the most effective way.
It is suggested complete removal of any past tiled splashback before affixing a new one. This ensures the walls are fully prepared before fixing and you do not run the risk of miscalculating sizes.
It does not require much effort to clean glass splashbacks. With that being said, a glass splashback is expected for different sort of cleaning. It may get spattered with oil, limescale and grease and so, will need slightly different cleaning methods. Glass splashbacks won’t really respond to abrasive cleaners. You should not use brushes or wool with plastic bristles. Rather, select a small amount of gentle glass-cleaner and then wipe it by using damp cloth. Let it dry gradually from direct sunlight to lessen the appearance of visible streaks.
If you do not have a window cleaner, choose the combination of distilled vinegar and water. This can break apart grease molecules which allow cloth to lift them away. Take a soft and dry cloth to remove any excess and lessen smears. Unlike most domestic works, you need to clean splashback every now and then. Do not let dirt and grease to accumulate as this can make it difficult to attain good results.
Thus, a glass splashback is considered to be a great addition for the kitchen. It is available in different colours, adaptable and easy to maintain. Unlike cooker splashbacks, the glass ones installed in the kitchen can help to eliminate grease and oil which gets accumulated due to extreme heat in the cooking space.
Advanced Features to Choose Modern Shower Enclosure
17 May, 2024
Shower Screens: Keep it Clean and Spotless
26 Apr, 2024
Glass Partition Walls: Everything to know about them
18 Jan, 2024 tap to call